Why the floor plan matters more in autumn
Mid autumn changes what a filming day can promise. Daylight arrives later, fades earlier and shifts quickly when cloud rolls in over the hills. A plan that quietly relied on a bright afternoon in summer now needs to say where the camera stands, where the subject sits and where the light will come from at the hour you actually arrive.
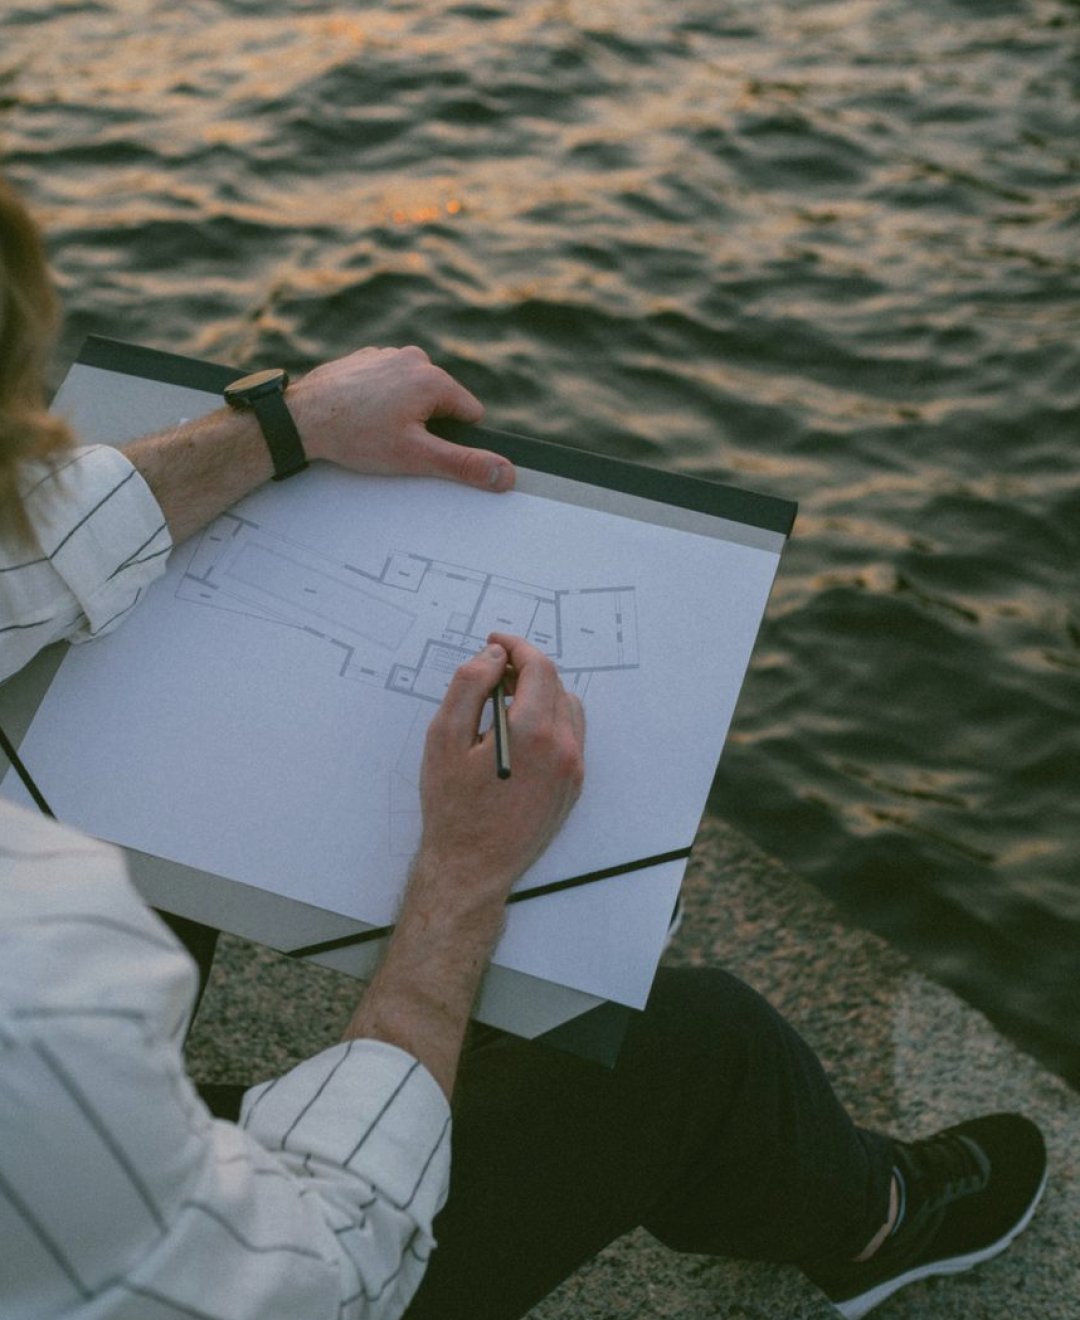
A simple floor plan does this job well. It does not need to be a technical drawing: a rectangle for the room, small marks for windows and doors, a circle for the subject and a triangle for the camera is enough. Once those marks are on paper, you can see problems before the crew does, such as a window behind the subject or a doorway that will bring people through the shot.
I teach this in the camera and light module because beginners often decide positions on the day, standing in the room with everyone waiting. Marking them in advance turns a rushed guess into a calm choice, and it gives anyone helping you a clear picture of what you intend.
- Draw the room as a plain rectangle first
- Mark windows, doors and power points
- Place subject and camera with simple symbols
Reading the light you will actually have
Before you commit to a camera position, work out where the natural light falls in the room during your planned filming window. In these weeks the sun sits low, so light enters at a sharper angle and travels further across the floor than it does in summer. A window that looked harmless in June can now throw a hard stripe across your subject's face.
Visit the location at the same time of day you intend to film, if you can. Note which windows give soft, even light and which give direct sun. Write the time beside each observation on your plan, because light that works at eleven may be gone by two. A short note such as 'north window, steady, usable until mid afternoon' is worth more than a long description.
If the room cannot give you what you need, decide early whether you will add a lamp or move the setup. Studio lighting is not a failure of planning; it is a planned answer to a known limit, and it belongs on the plan like everything else.
- Visit at the hour you plan to film
- Note the time next to each light observation
- Mark which windows give hard or soft light
Placing the camera and choosing the lens
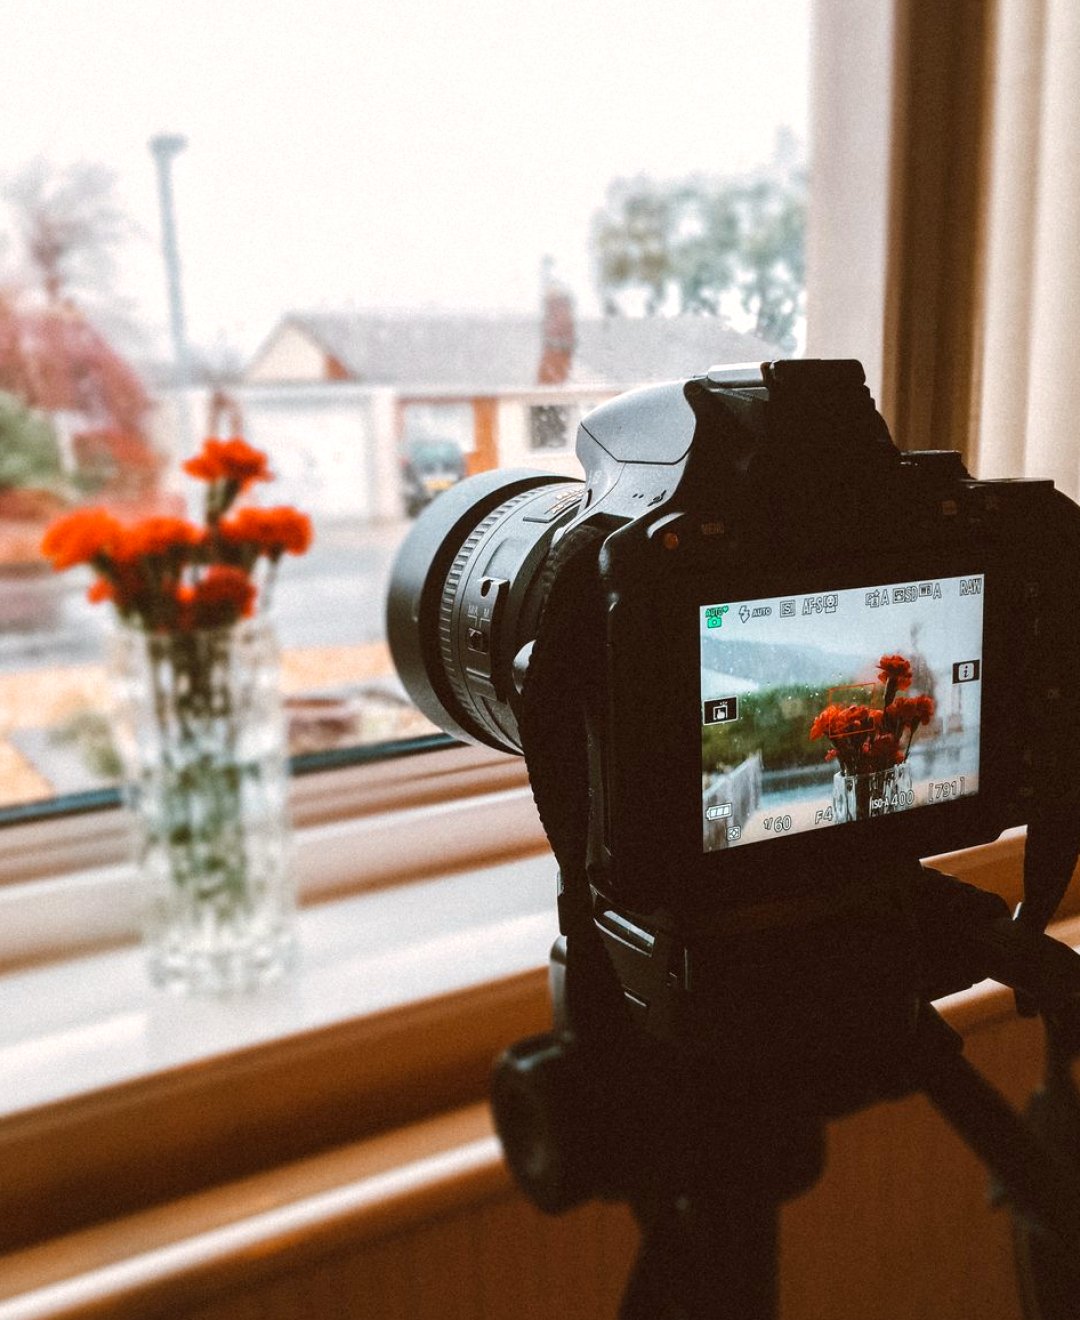
With the light understood, place the camera. For a seated interview, a common starting point is a position slightly off to one side of the interviewer, with the subject looking just past the lens. On your floor plan this is a triangle with a short line showing where it points, and a note of the lens you expect to use.
Lens choice depends on the space. In a small room a wider lens lets you keep the subject a comfortable distance from the wall behind them, while a longer lens flattens the background and suits larger rooms. Write the lens beside the camera mark so that anyone reading the plan knows what you assumed.
Leave yourself a second position as a fallback. Autumn weather changes the plan faster than any other season, and a marked alternative, perhaps near a different window, means a passing cloud becomes a small adjustment rather than a lost hour of the schedule.
- One main camera position and one fallback
- Lens noted beside each camera mark
- Distance from subject to background wall checked
Planning for shorter days and early dusk
The most practical autumn adjustment is time. If light fades by late afternoon, your most important shots, usually the interview itself, should be scheduled for the best hours of the day. Cutaways and exterior shots can follow, or be gathered separately if the weather allows.
Build your lighting plan around the order of work. Interviews that rely on window light go first, when the room is brightest. Setups that use your own lamps can fill the later hours, because they do not depend on the sun. Write this sequence on the plan so the reasoning is visible, not just the result.
Remember that setup takes longer in cold, damp conditions. Hands are slower, equipment needs wiping dry and people arrive later than expected. Add a margin before the first shot rather than after the last one, since the margin at the end of an autumn day is usually the part that disappears.
- Best light for the interview itself
- Own-lamp setups for the later hours
- Extra margin before the first shot
Marking studio and lamp positions
When you add your own lighting, treat each lamp as another mark on the floor plan. A circle with a short arrow showing direction works well. Give each one a label such as 'main', 'fill' or 'back' so the purpose is clear, not only the position.
A simple, sensible approach for a talking subject is one main light to one side, softened if possible, and a gentler fill from the other side to keep shadows readable. You do not need many lamps to begin. Two well placed lights, drawn and labelled, teach you more than a crowded setup you cannot remember.
Check cable runs and power points on the plan too. In older buildings sockets are rarely where you want them, and a lead across a doorway is both a nuisance and a hazard. Marking the route on paper lets you decide where to tape it down, or whether to move the setup, before anyone trips over it.
- Label each lamp as main, fill or back
- Show direction with a short arrow
- Draw cable runs and power points
A short routine before you leave for the shoot
Before you set off, read your floor plan as if you were seeing it for the first time. Can someone else tell where the camera goes, where the light comes from and which lens you intend to use? If not, add the missing note. A plan that only makes sense to its author is half finished.
Print a copy for each person on the crew and keep one spare in your bag. Phones lose battery in the cold, and paper does not mind a damp morning. Write the sunset time near the top, so everyone remembers how much working light the day really holds.
Finally, accept that the room may still surprise you. The plan is not a promise; it is a starting point you can adjust with confidence because you already understand the choices behind it. That understanding is what the exercises in this module are meant to build.
- Check the plan reads clearly to a stranger
- Print copies and keep a spare in your bag
- Note the sunset time at the top
Autumn does not make filming harder so much as it makes planning more visible. A floor plan with camera positions, lens notes and light sources marked gives you a calm reference when the day shortens and conditions shift. Start with a simple drawing, visit the room at the right hour, and let the plan carry the decisions you would otherwise make in a hurry. The clearer it is on paper, the easier the shoot becomes.