The problem Rhys brought to class
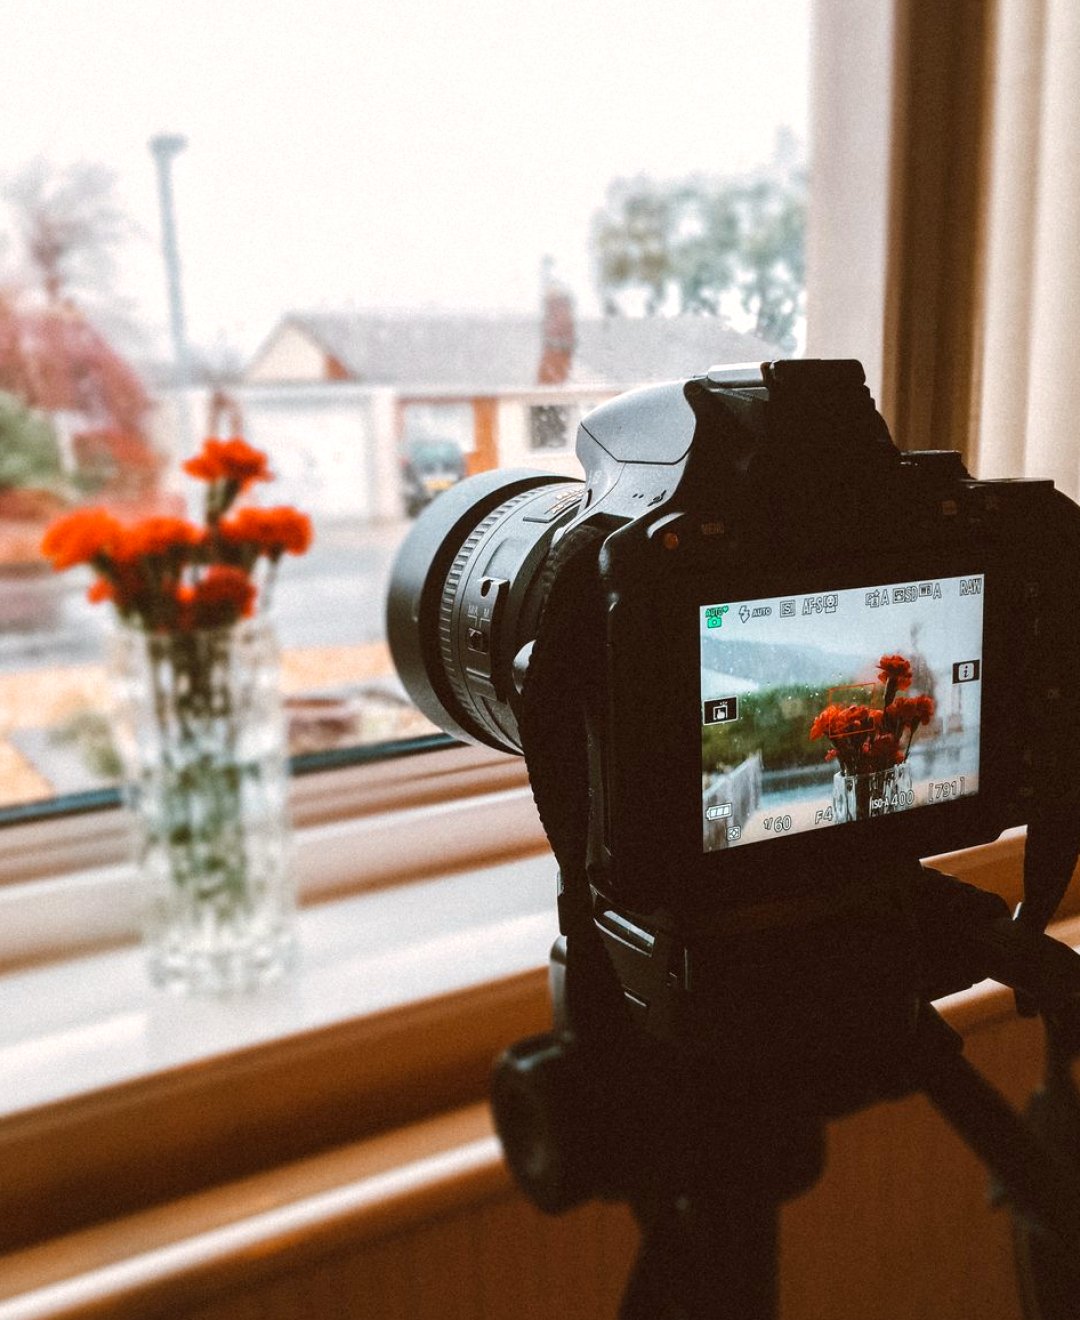
Rhys works in communications for a small housing charity, and he arrived at the course with a straightforward task: film a thirty-minute interview with a tenant representative in the charity's own meeting room. He had already tried once. The footage was flat, the speaker squinted at the window behind the camera, and the audio picked up the hum of a radiator. He told me he had simply put the camera where there was space for the tripod and hoped for the best.
What he lacked was not equipment but a plan. He had a phone, a borrowed tripod and a small desk lamp. In the camera and lighting module we start from the premise that a room is a set of constraints before it is a location, and that those constraints can be written down in ten minutes with a pencil and a sheet of squared paper. That is where we began with his meeting room.
Drawing the room before touching the camera
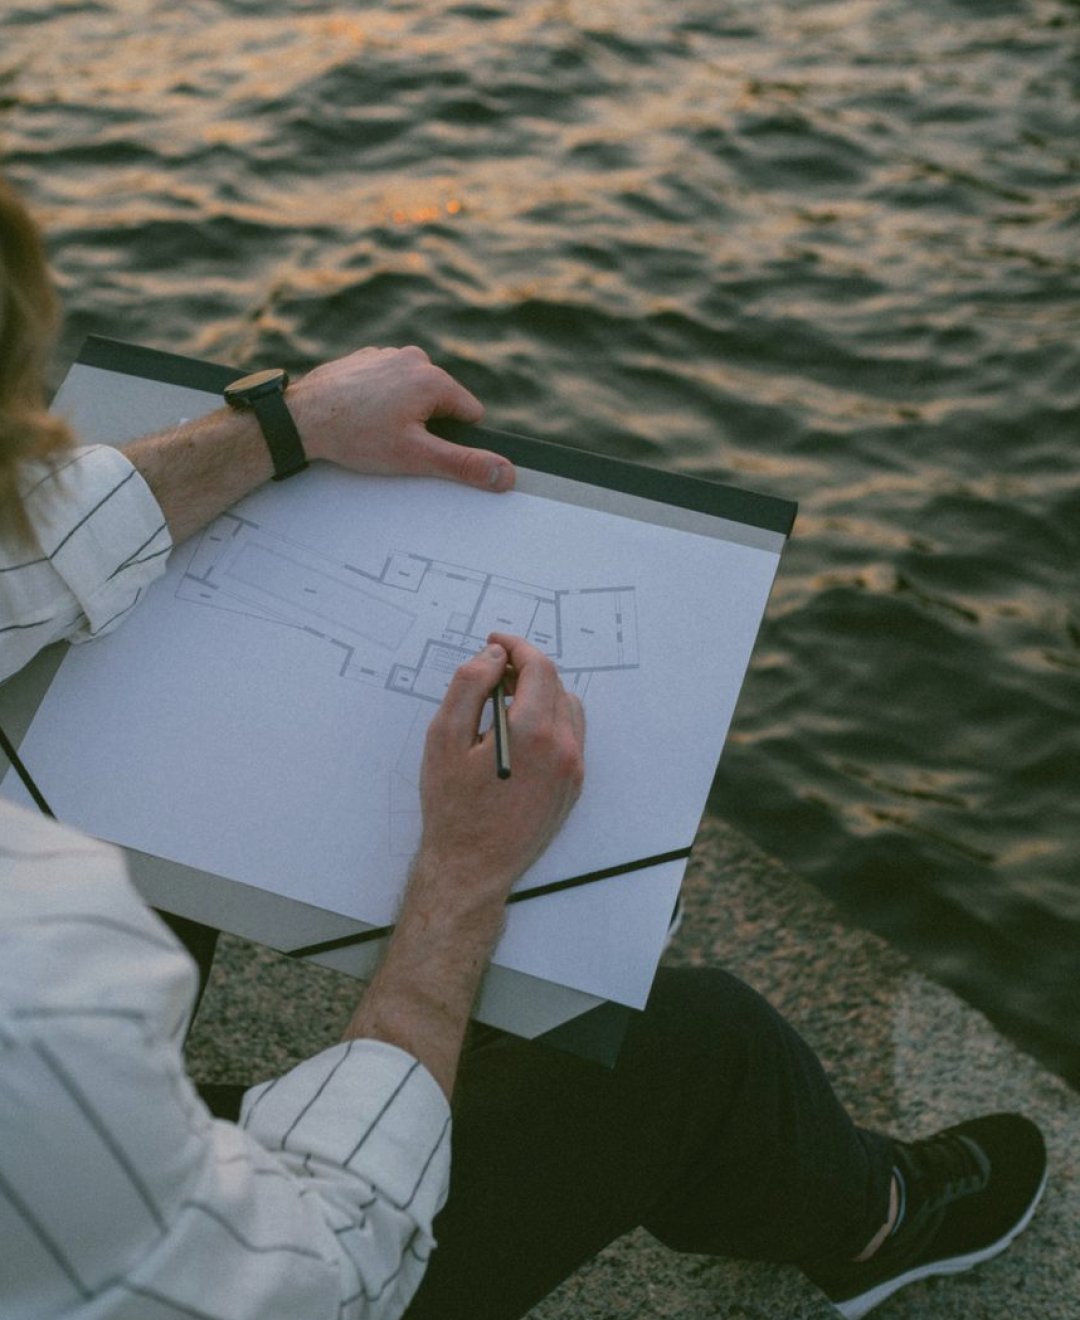
The first exercise is always the same: sketch the floor plan from above, roughly to scale. Rhys paced out the room and drew a rectangle about five metres by three, then added the door, the radiator, the long table and the single window on the left-hand wall. He marked north with a small arrow so he would remember where the daylight came from at the hour of the interview.
None of this needs to be neat. What matters is that every fixed object appears, because each one will either help or get in the way. Once the plan was on paper, Rhys could see something he had missed in the room itself: the table took up nearly half the floor, and the only clear wall for a background was the one beside the door. That alone changed where he wanted the interview to sit.
- Measure by pacing, then note the approximate size
- Mark doors, windows, sockets and anything noisy
- Add an arrow for the direction of daylight
Placing the camera and choosing a lens
With the plan drawn, we placed the camera as a small triangle with a line showing where it pointed. Rhys's first instinct was to put it directly in front of the speaker, close to the table. I asked him to try two other positions on paper: one slightly off to the side at roughly thirty degrees, and one further back. Drawing the angle of view as two lines fanning out showed him what would actually be in frame.
He settled on the off-centre position, with the speaker looking just past the lens towards a colleague who would ask the questions. The slight angle gave the shot depth and hid the radiator behind the camera's field of view. We also noted the lens choice. His phone offered a standard and a slightly wider view, and we marked the standard one, because the wider lens would have exaggerated the narrow room and pulled the table into the edge of the picture.
Using the window rather than fighting it
Light was the second half of the exercise. Rhys's earlier attempt failed because the window sat behind the camera and straight into the speaker's eyes. On the revised plan we rotated the set so the speaker sat at ninety degrees to the window. Daylight then fell across one side of the face, which is a gentle and natural look for a factual interview and needs no equipment at all.
The desk lamp had a smaller job. We drew it as a small circle on the shadow side, a little above eye height and pointing at the wall rather than the face, so it softened the dark side without creating a second shadow. In mid autumn the daylight changes quickly, so we also wrote a note beside the window: check the light at the interview hour, and have the lamp ready if cloud arrives. That single line of annotation turned a guess into a plan.
- Place the subject side-on to the window
- Bounce the lamp off a wall to soften shadow
- Note the time of day on the plan itself
What changed on the day of filming
Rhys filmed the following week. He sent me a short message afterwards, and the main thing he mentioned was how little he had to decide on the day. The tape marks on the floor for the tripod legs and the chair were already on his plan, so setup took about twenty minutes instead of the hour he had spent before. The speaker was comfortable, and the picture had a clear background and an even face.
There were still small problems. A cloud passed during the second half and he switched the lamp on, which he had planned for. A door opened once in the corridor and he asked for the answer to be repeated. None of this was dramatic, and that is rather the point. A floor plan does not remove surprises, but it leaves you with the attention to deal with them calmly.
What to take from Rhys's plan
The useful part of this case is how modest the method is. Rhys used squared paper, a pencil and a few symbols, and he answered four questions before filming: where the fixed objects are, where the light comes from, where the camera points and what the lens will see. Those four answers fit on one sheet that anyone on a small crew can read at a glance.
If you are preparing your own interview, try the same order of work. Draw the room, mark the light, test two camera positions on paper, then choose. Keep the sheet with you on the day and write on it when something changes. It becomes a record of what worked, and the next room you face will take less time to read.
- Draw first, film second
- Compare at least two camera positions on paper
- Keep the plan on set and annotate it
Rhys did not need better equipment, only a clearer picture of his own room. A floor plan with the camera, the lens and the light marked on it took one evening to draw and saved him repeated attempts on the day. If your next interview feels uncertain, start with the sketch from above. It is the quietest, cheapest piece of preparation, and it tends to show you the answer before you pick up the camera.