What the module now asks of you
This autumn the Scene Outlines for Interviews module settles into a clearer shape, and it is worth setting out what a student actually does in it. You begin with a single page for one interview: who is speaking, where they will sit, what the camera sees and how long you expect to be in the room. Nothing about it needs special software. A pencil, a printed template and a short written brief are enough. The point of the outline is to make decisions before the day, while they are cheap. Once a guest is seated and the light is changing at the window, every unplanned choice costs minutes. By the end of the first session you have a working outline you could hand to a colleague who has never met the subject.
Beginners often assume an outline is only a list of questions. In this module it is wider than that. It records the setup, the order of topics, the points where you will pause and the images you will need to cover the edit. We treat the interview as one scene among several in a filmed report, so the outline has to fit the shot list and schedule you build in the other modules. You will not be asked to arrive with equipment of your own. Exercises work with a phone camera or a borrowed camera, and the feedback concentrates on the plan rather than the gear.
- One outline page per interview, readable by any crew member
- Setup, topics, pauses and cutaways recorded together
- Exercises work with a phone or borrowed camera
Setting up the room before anyone sits down
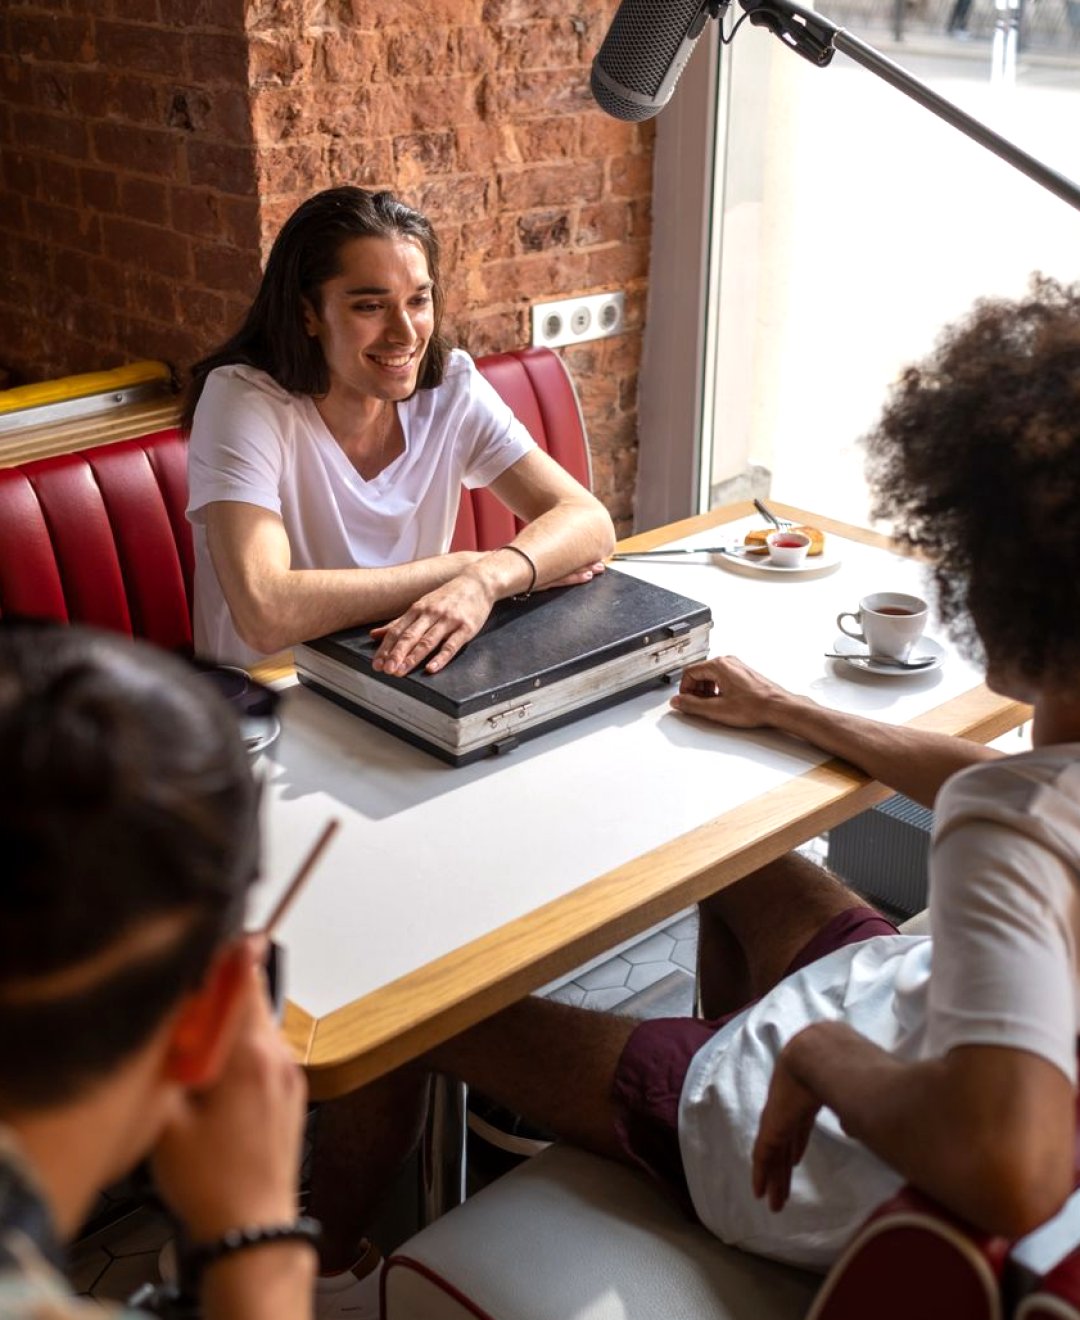
The first practical part is the setup. We ask you to draw the room from above, mark the chairs, the camera and the light, and note where the window is. Priya Sharma guides this part, and she insists on one habit: look at the room at the hour you will film, not the hour you visit. A bright office at ten can be dim and flat by three. You also note practical limits. Is there a hum from a fridge or a vent? Can the door be closed? Is there a power socket within reach? These small items decide whether an interview is usable, and they belong on the outline, not in your memory.
Seating comes next. A guest who looks slightly off the lens, with the interviewer beside the camera, usually feels more at ease than one facing a lens head on. The outline records which side the guest looks towards so that a second interview in the same report matches the first. The exercise asks you to plan two different rooms for the same guest and compare them. Most students find the plainer room serves the conversation better, because there is less to manage and more attention for the person speaking.
Question flow that lets a person talk
Question flow is the part most people want to rush. We slow it down. You write your topics in the order a listener would find natural, then mark which one is the opening, which is the one you most need, and which can be dropped if time runs short. A short report may allow only fifteen minutes with a guest, so the outline must say what matters most. We also teach students to write questions that invite a story rather than a yes or no. Instead of asking whether a project was difficult, you might ask what the first week looked like. The outline keeps these prompts brief, a few words each, so you glance at it rather than read from it.
A useful habit is to leave a gap after each topic for a follow-up you cannot predict. The best material in a factual report often comes from a second question the interviewer never planned. Leaving space on the page reminds you to listen. Students then swap outlines and read a colleague's plan as if they were the guest. It is a quick way to spot a question that is vague, leading or simply too long, and the comments are usually kind and specific.
- Mark the opening, the essential topic and what can be cut
- Prefer prompts that invite a short story
- Leave a visible gap for the unplanned follow-up
Cutaways and the pictures that cover the edit
An interview alone makes a flat piece. The outline therefore lists cutaways: hands at work, a street outside, a document on a table, the place the guest is describing. You write them next to the topic they illustrate, so that when the guest mentions a harbour you already know you need a shot of it. This links the module to the shot list work earlier in the course. Each cutaway becomes a line you can schedule, with a note on where and when it can be filmed. Callum Reid helps students check whether the place allows filming and whether anyone in the frame needs to agree.
We ask for more cutaways than you expect to use, because edits always want something you did not shoot. A simple rule works well: for each minute of interview you plan to keep, list at least two images that could sit over it. It is a planning guide, not a promise of an outcome. Students often find that listing cutaways changes the questions they ask. Knowing you need an image of a workshop bench, you ask the guest to describe it, and the answer gives you both words and a reason to film.
How feedback works in the module
Feedback is built into every exercise. You submit your outline, an instructor reads it and returns notes on clarity, order and what a crew member would still have to guess. The comments are about the plan on the page. We do not mark you on how polished your drawing looks. A second round lets you revise and resubmit. Most students change the question order and add a missing practical note, such as where the guest will wait or how long setup should take. Those two changes alone often make an outline far easier to follow.
Because the course is based in Stirling, some sessions take place in rooms where you can test a setup in person and see how the light moves across a morning. Others are done at your own pace with written feedback. In both cases the goal is modest and realistic: leave with an outline you trust and a habit of planning an interview before you press record. The module has no entry test, but it helps to have read the earlier material on shot lists, since the outline plugs into that structure.
Who this suits and what you leave with
The module is written for beginners and early-career video makers, journalists and communications staff who have to film a factual interview with limited time and a small kit. You do not need prior camera experience, though you should be comfortable working to a short written brief. What you leave with is practical: a finished outline for an interview of your own choosing, a floor plan of the room, a question order you have tested with a colleague, and a list of cutaways tied to the topics. These are working documents you can reuse for the next shoot.
We keep the claims modest. An outline will not make an interview good by itself, and a nervous guest remains a nervous guest. What planning does is remove avoidable problems so your attention stays on the person in front of you. If you are weighing whether this module fits a particular project, the contact page lets you describe the subject, the number of locations and the intended length, and we will tell you plainly whether it suits.
- Finished outline for an interview of your own
- Floor plan, tested question order and cutaway list
- Reusable documents for the next shoot
An interview outline is a small document with a large effect: it fixes the room, the order of topics and the pictures you will need before the day begins. This module teaches you to write one that another person can follow. If you plan to film a conversation this autumn, start with a single page and test it on a colleague first.