Start with what the day must deliver
Before any times go onto a page, write down what the day has to produce. For a short factual report that might be one interview, a handful of cutaways and an exterior establishing shot. List these as outcomes, not as a wish list, and mark which ones the edit cannot do without. This short list is what you protect when the day starts slipping.
I ask students to put the outcomes in order of importance, then beside each one note the place it needs, the people it needs and the kind of light it suits. A talking-head interview can happen in a dull room at any hour; a street exterior usually cannot. That one comparison already tells you which items anchor the day and which can float around them.
Keep the list honest. Beginners often plan eight setups for a day that comfortably holds four. It is better to finish a short list with time to spare than to rush a long one and come home with footage nobody can use.
- Write outcomes, not hopes
- Mark the items the edit cannot lose
- Note place, people and light for each
Work backwards from the light
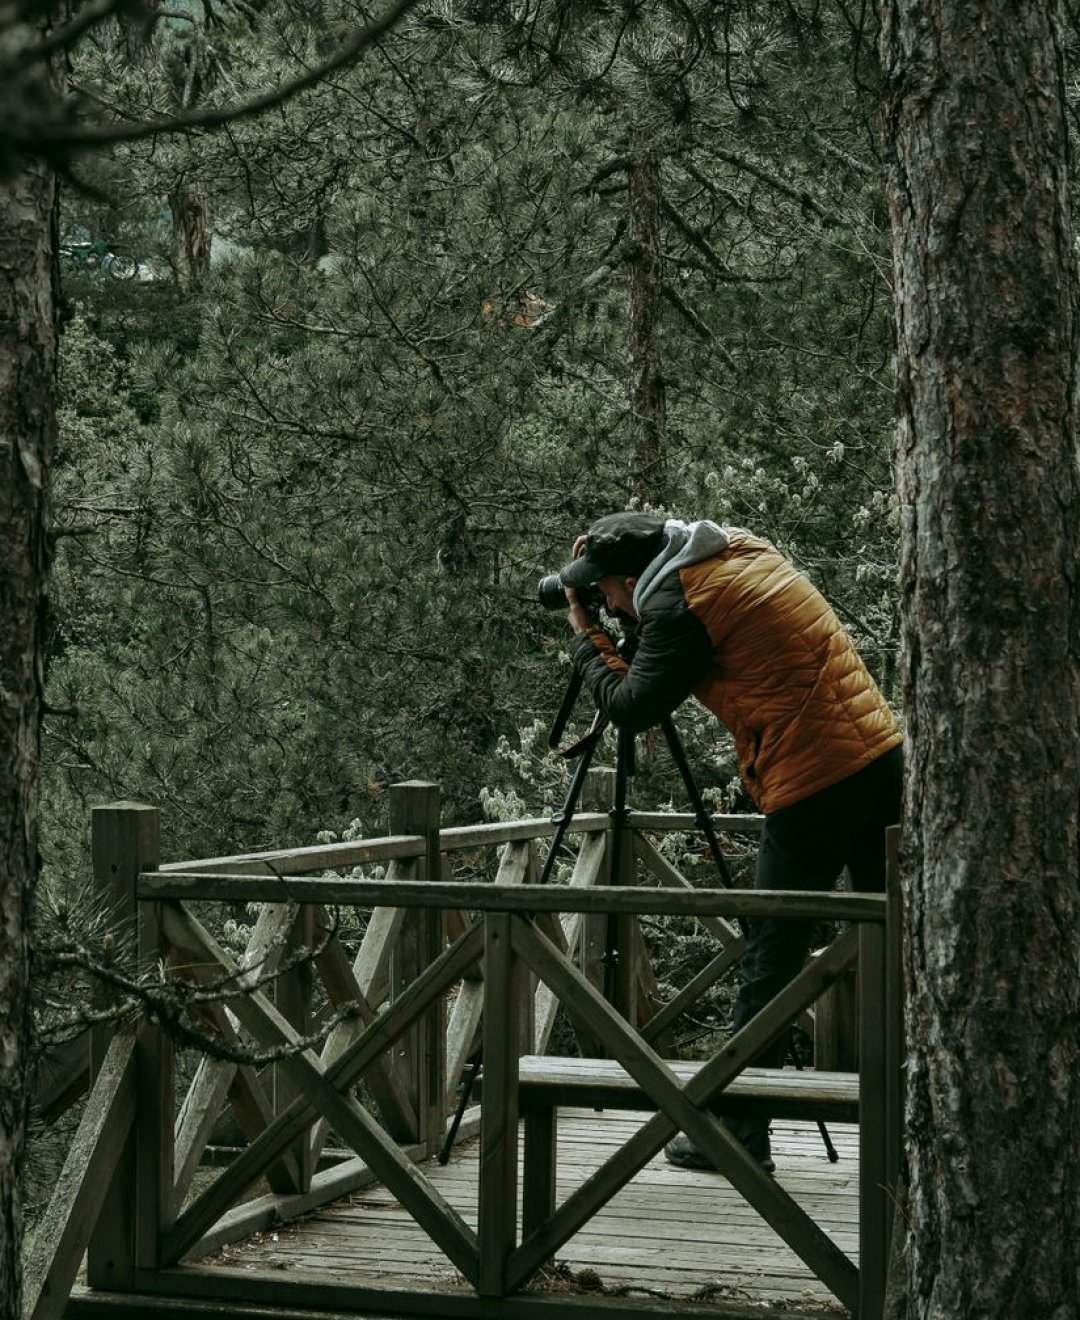
Daylight is the one thing on a shoot that you cannot ask to wait. In mid autumn the usable window in Scotland is noticeably shorter than in summer, and the sun sits low, so exterior shots that need clean, even light belong in a narrow stretch of the middle of the day.
Check sunrise and sunset for your date, then mark the hours you can rely on for exteriors. Place those shots first in the plan, and fit interviews and indoor work around them. If a location faces the wrong way for the hour you have, note it now rather than discovering it on arrival.
Cloud changes the picture again. Plan a fallback for each exterior, such as an indoor alternative or a shot that works under grey skies, so a change in weather moves one item rather than wrecking the whole sequence.
- Look up the light for your actual date
- Put light-sensitive exteriors in the middle hours
- Give every exterior a weather fallback
Count travel, parking and carrying
Travel time is the most commonly underestimated line in any schedule. Do not take the journey time from a map and stop there. Add the time to park, to find the right entrance, to be met by whoever holds the keys, and to carry kit from the vehicle to the spot where you will actually film.
If a day involves two locations, treat the move between them as its own block with a start and an end. Include packing down at the first place and unpacking at the second. Fifteen minutes of driving is rarely fifteen minutes of lost time; it is usually closer to an hour once everything is counted.
Where you can, visit or at least study the route in advance. Callum, who teaches our locations module, often reminds students that a gate locked until nine o'clock has ruined more mornings than any equipment failure.
- Add parking and entry time to every journey
- Treat each move as a block with a start and end
- Allow time to carry kit to the exact spot
Give setup its own time
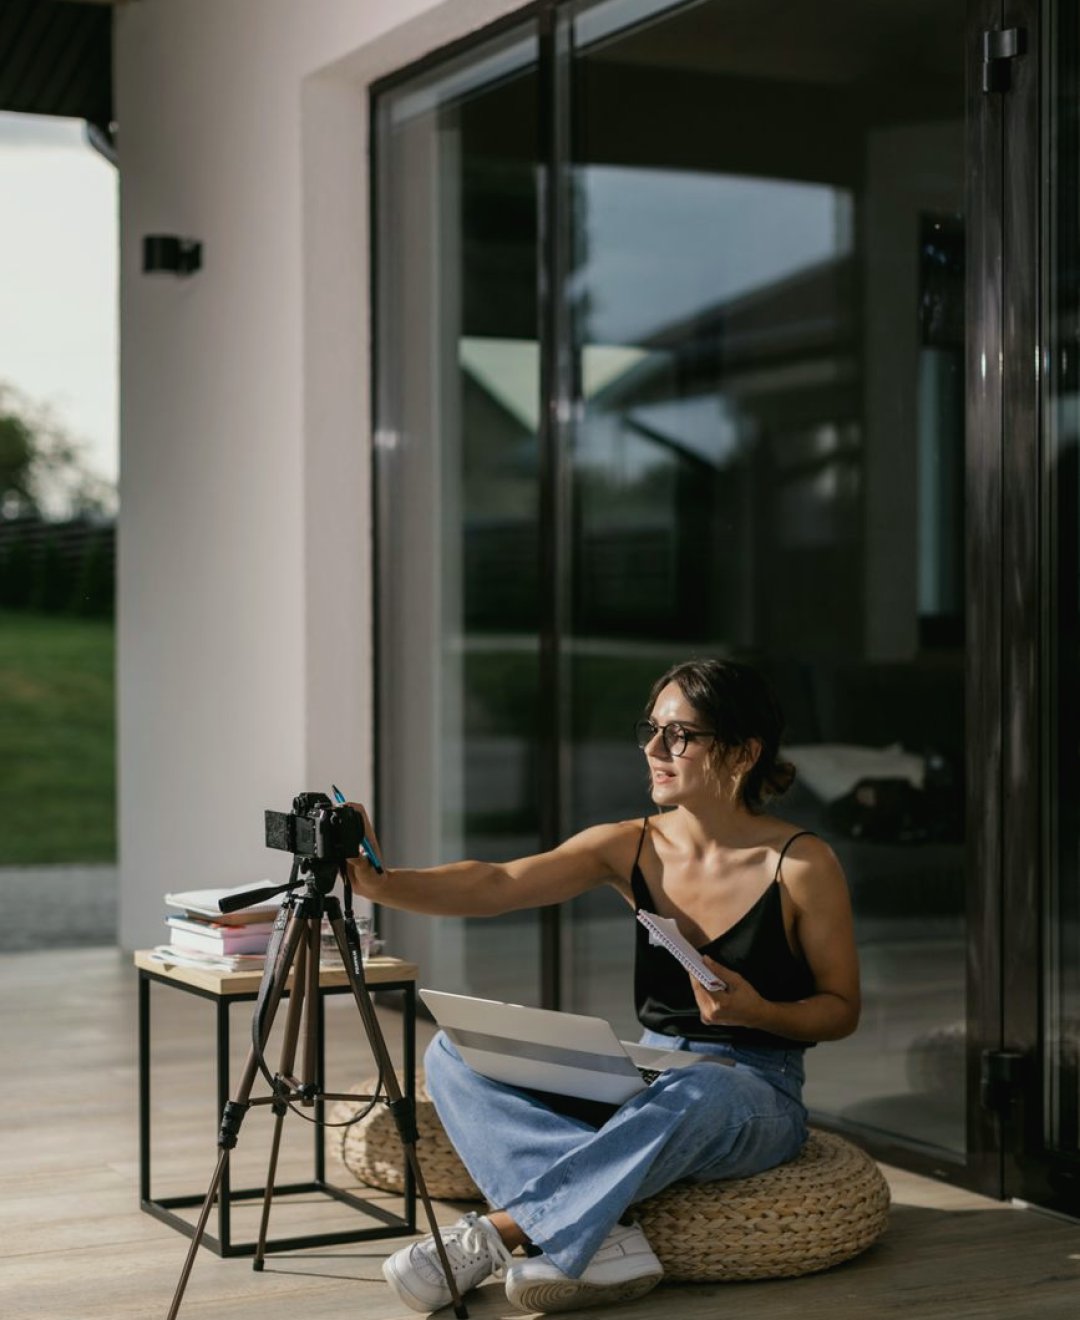
Every setup has a cost before the camera records anything: positioning the tripod, checking sound, adjusting a light, and framing the shot. A simple interview with one camera and a window light can take around forty-five minutes to set; a more complicated arrangement takes longer. Write a setup figure beside each item rather than hiding it inside the shooting time.
Separate setup from filming in the plan so you can see where the minutes go. When a day is running late, this separation shows you what can be shortened, such as reusing a lighting position for a second interviewee, and what cannot.
Also allow a short check at the end of each setup. A quick playback of a few seconds of footage costs almost nothing and saves a return trip. Build that review into the time, not on top of it.
- Write setup and shooting times separately
- Reuse a position for a second subject where possible
- Include a short playback check
Add buffers where things tend to go wrong
A schedule with no slack is a schedule that fails by lunchtime. Place small buffers after the items most likely to overrun, usually interviews, where people need a moment to settle, and anywhere you depend on another person arriving on time. A ten or fifteen minute gap is enough to absorb most delays.
Put one longer buffer in the middle of the day, ideally before the light-critical shot that follows it. If the morning runs over, you can use the buffer instead of cutting into the one piece of filming that cannot move.
Plan meals and breaks too. People who are hungry and cold work badly, and interviewees who have been kept waiting give flatter answers. A real break written into the plan is kinder and usually makes the afternoon faster.
- Buffer after interviews and third-party arrivals
- Keep one longer buffer before a light-critical shot
- Schedule meals and breaks as real items
Write it so anyone can follow it
Once the times are settled, put the plan on a single page. Use a plain table: time, place, what is being filmed, who is needed, and notes. Anyone on the crew, or anyone you share it with, should be able to read it at a glance and know where to be.
Include contact numbers for the person holding keys or permissions, and the address with a postcode for each location. Print a copy as well as keeping one on your phone, since signal in rural or indoor locations is never guaranteed.
Finally, read the plan aloud as though you were living the day. Where you stumble or feel rushed, the schedule is too tight. Adjust it before the day, when changing it costs nothing.
- One page, one table
- Add contacts and postcodes
- Read it through as if living the day
A good filming schedule is not a prediction; it is a set of sensible choices made while you still have time to change them. Start from the outcomes, respect the light, count travel and setup honestly, and leave gaps where things tend to slip. Do that and the day gives you room to do the filming well, rather than chasing the clock from the first minute.