Start with the work you actually make
Storyboard Drawing Basics is built around filmed reports, interviews and short factual videos, so the first check is whether your own projects look like that. If you are a journalist, a communications officer or an early-career video maker who regularly has to explain a shoot to a camera operator or a colleague, the module will meet you where you are. If your work is mostly live events with no advance planning, the exercises may feel more structured than your day-to-day needs.
I teach locations and permissions, so I tend to ask students about their last shoot before anything else. Which moment caused the most confusion on the day? Often it was a framing decision nobody had agreed in advance. A storyboard is the cheapest way to have that conversation before anyone is standing in a car park with a tripod.
- Do you brief other people before a shoot?
- Have you lost time on set to unclear framing?
- Do you film interviews or factual reports?
Be honest about your drawing confidence
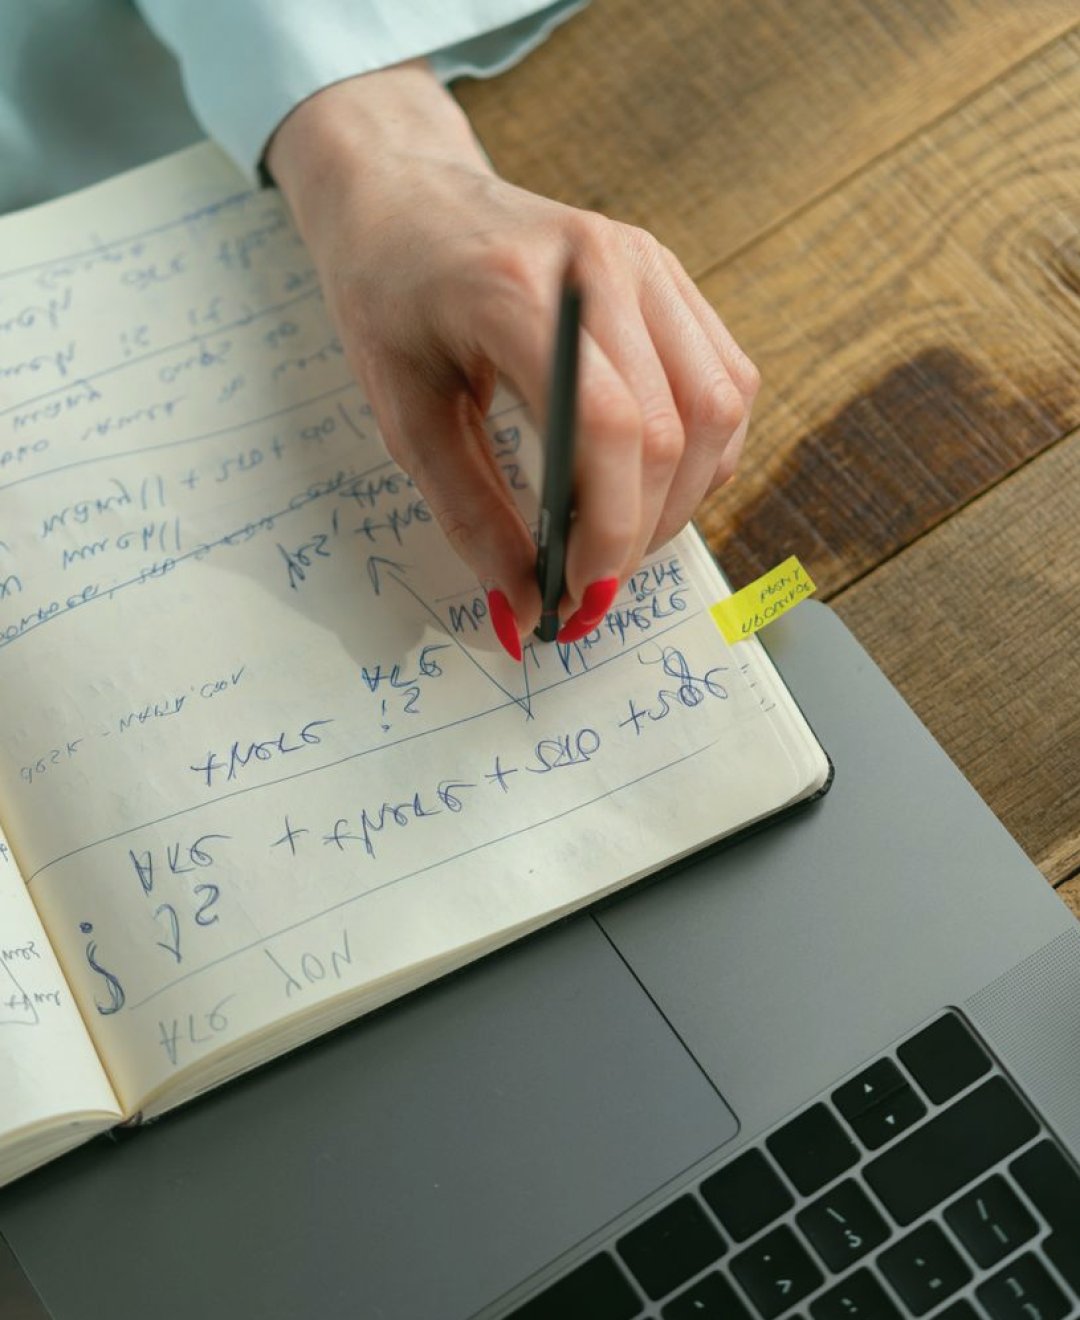
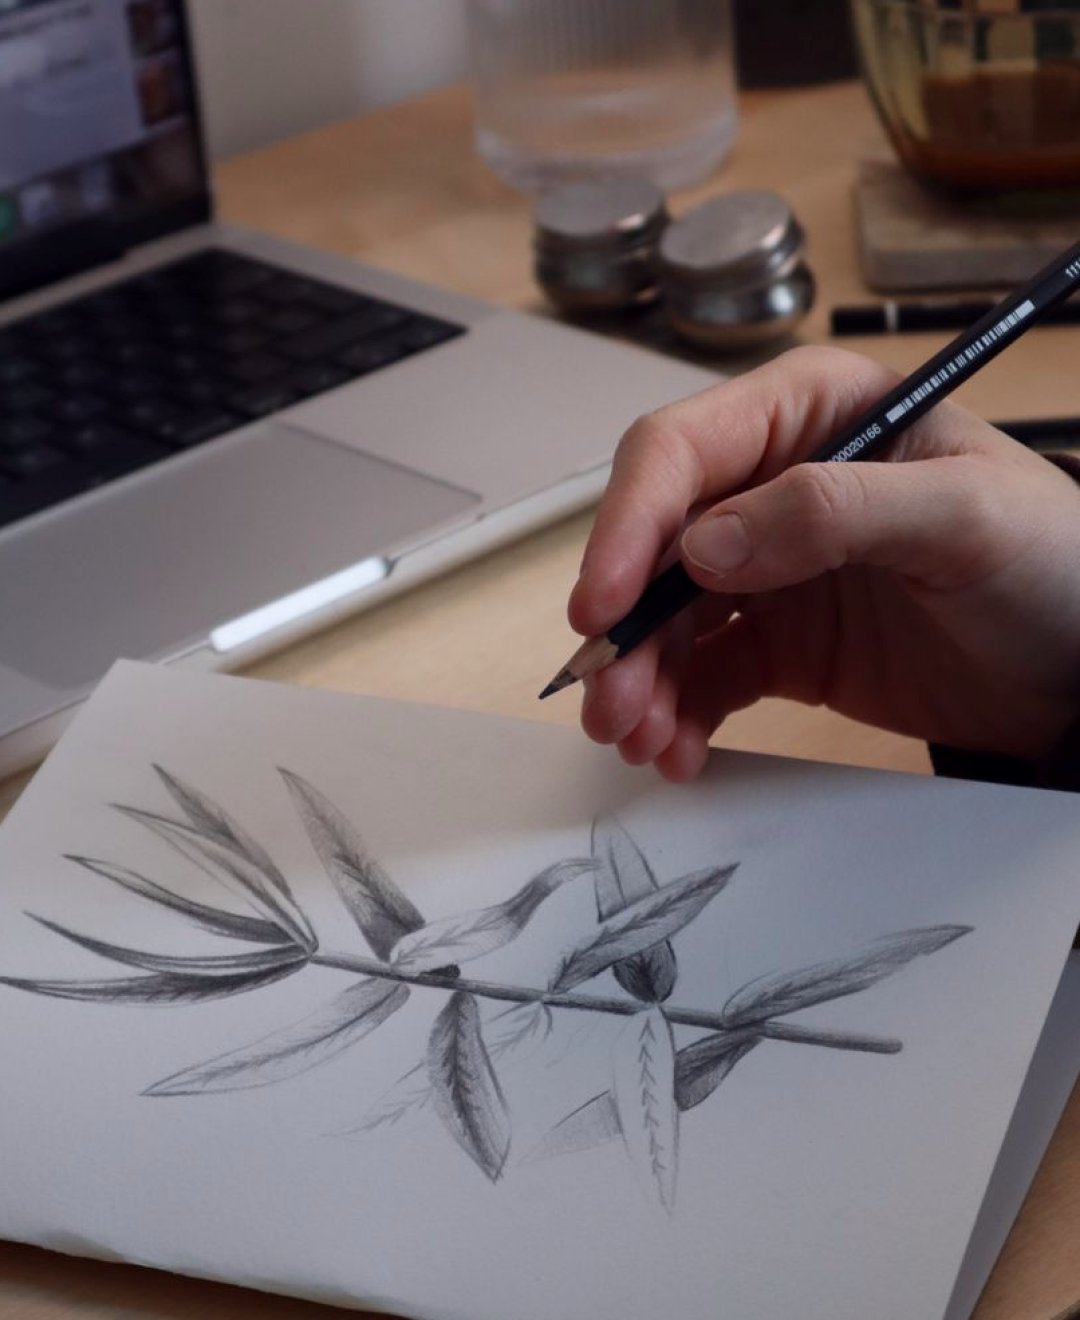
The module teaches simple framing, thumbnails and annotation, not illustration. Stick figures, boxes and arrows are entirely acceptable, and the aim is a board that any crew member can read. You do not need to arrive with sketchbooks of finished drawings, and nobody is marked on artistic polish.
That said, you should be willing to draw by hand in every session, however roughly. Students who avoid the pencil and wait for a software shortcut tend to find the thumbnail exercises slow. If you can draw a rectangle, divide it into a few areas and label what sits where, you have the starting skill. Fiona MacAllister leads this module and gives feedback on clarity first, so a rough board that communicates well will always beat a tidy one that does not.
- Can you draw a rectangle and a simple figure?
- Are you comfortable showing rough work?
Check how you like to learn
Lessons run in Stirling and rely on guided exercises followed by feedback. You will draw during the session, hear comments on your panels and revise them. That suits people who learn by doing and who accept a critique of unfinished work without much fuss.
If you prefer to read a long manual alone and apply it later, the format may feel more active than you expect. It is worth asking yourself whether you will actually use the feedback. A comment such as the framing hides the speaker's hands is only useful if you redraw the panel and test it again. Students who treat feedback as a conversation, not a verdict, usually gain the most from the module.
- Do you learn better by practising than by reading?
- Will you redraw a panel after feedback?
Count the time you can realistically give
A skill like this grows through repetition, so think about weekly hours rather than a single burst of effort. Thumbnails are quick to produce, but building a habit of sketching before each shoot takes several short practice sessions between lessons. Be realistic about what your job allows in a normal week, not in a quiet one.
A sensible test is to picture the next two or three shoots in your diary. Could you spend twenty minutes sketching before each of them? If so, the module will quickly become part of how you prepare. If those shoots are arranged at the last minute with no preparation time at all, you may want to talk through that constraint first, because it shapes which techniques will be most useful to you.
- Can you spare short practice sessions each week?
- Do you have upcoming shoots to draw for?
Think about who will read your boards
A storyboard only works if someone else can follow it. Before deciding, list the people who would see yours: a camera operator, an interviewee, an editor, a manager who approves the plan. Each reads a board differently, and the annotation techniques in the module are meant to cover all of them.
I often see students underestimate how much a short written note beside a panel helps a person who was not in the planning meeting. Camera position, lens feel, what moves and what stays still all belong there. If your readers are mostly colleagues who already know your style, you may need less detail; if you work with freelancers or new crew each time, clear annotation will save you repeated explanations.
- Who needs to read your board?
- Will they have been at the planning meeting?
Set a realistic outcome before you start
Decide in advance what a good result looks like. A reasonable aim is to leave with a repeatable way of planning a short interview or report: a set of thumbnails, notes on framing and a board you can hand to a crew member without a lengthy briefing. That is practical and achievable within a course of this kind.
It is not realistic to expect that every shoot will then run without surprises. Light changes, people arrive late and locations behave differently from the photographs. A storyboard reduces avoidable confusion; it does not remove everything unexpected. Writing down your own measure of success now, perhaps fewer questions on set or a quicker briefing, gives you something concrete to check against once the lessons are done.
- Name one thing you want to do differently
- Choose a shoot to test your board on
If most of these questions drew a yes, Storyboard Drawing Basics is likely a good fit for the way you work. If a few gave you pause, that is useful information too, and worth raising before you decide. Take the list to your next planning meeting, sketch one scene from a real project, and see whether the exercise feels like help or hindrance.