Why a floor plan comes before any kit list
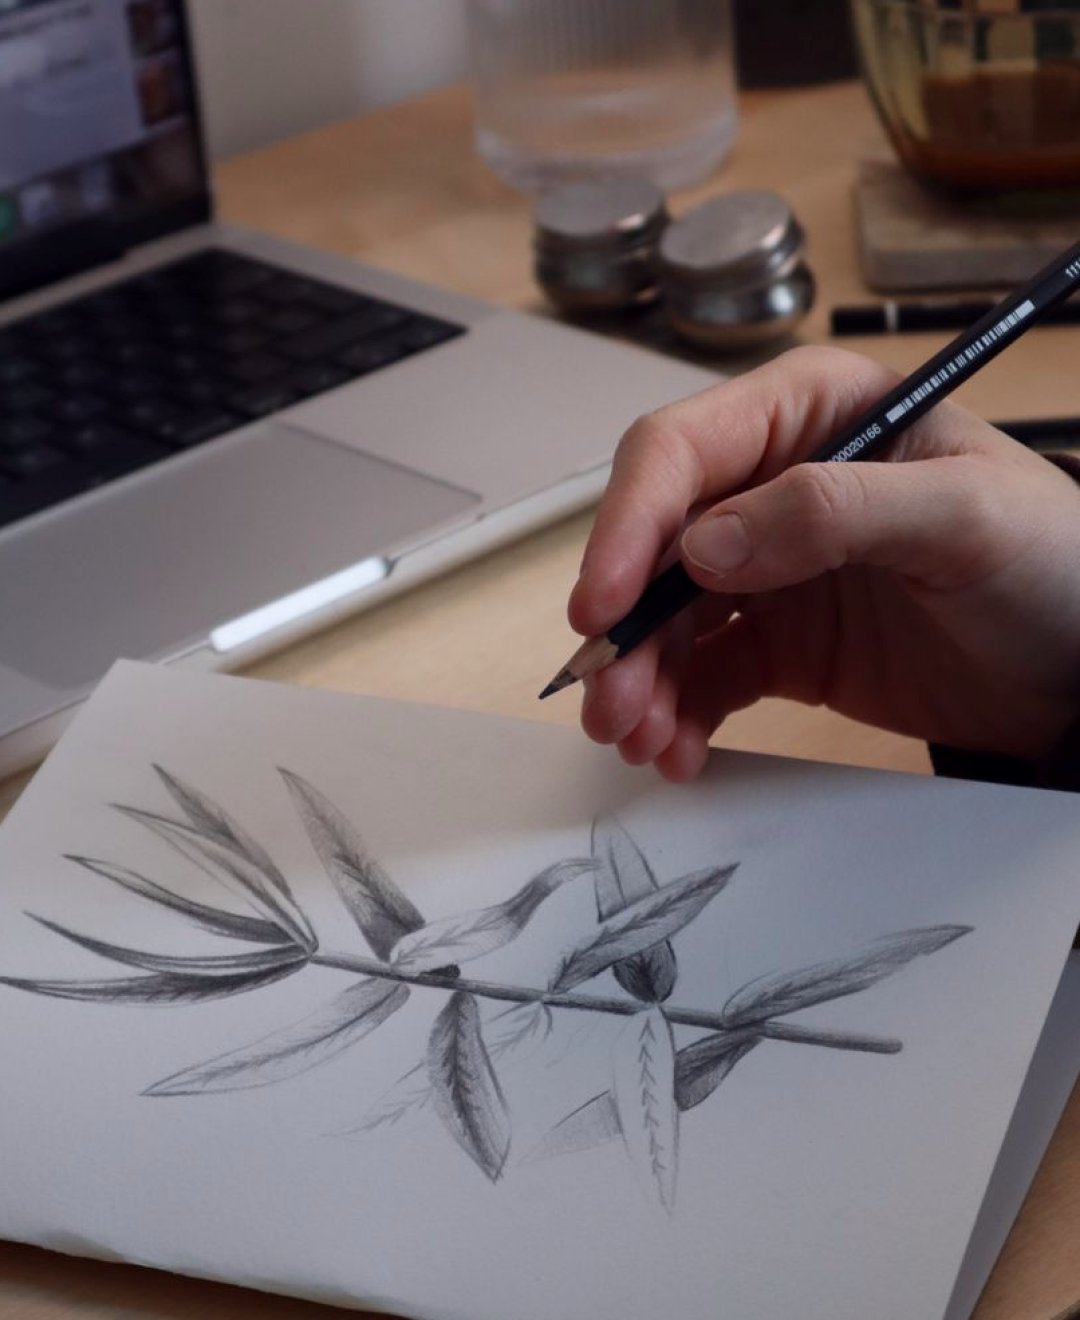
When students ask me which equipment to buy first, I send them back to a sheet of squared paper. A camera position only means something once you know where the walls, windows, doors and furniture sit. A rough plan, drawn to a simple scale such as one square to half a metre, shows you at a glance whether the camera can be placed where you imagined it, and whether a second person can walk behind it without stepping into the shot.
On the course we draw the plan before we discuss lenses. Each student measures a real room, usually with a cheap tape and a pencil, and marks the subject, the camera, the background and the nearest power socket. It takes about twenty minutes and it settles half the arguments that would otherwise happen on the day of the shoot.
The plan is deliberately plain. We use a circle for the subject, a small triangle for the camera pointing in the direction it faces, and arrows for light. Anyone on the crew can read it without a key, which is the whole point of the exercise.
- Measure the room before choosing a camera position
- Mark doors, windows and sockets on the plan
- Use one simple symbol per item and keep it consistent
Marking lens choices on the plan
Once the camera sits on the plan, we write the lens beside it. Not a brand, just the focal length you expect to use and the width of the frame it gives at that distance. A wider lens close to the subject and a longer lens further back can frame the same face quite differently, and the plan is the cheapest place to find out which one the room allows.
I ask students to draw two thin lines from the camera triangle showing the edges of the picture. Straight away you can see what else falls inside the frame: a radiator, a poster, the corner of a doorway. It is far easier to move a chair on paper than to discover it halfway through an interview.
We also note the camera height. A lens at eye level feels conversational, while one set a little lower can make a speaker look more formal. Neither is right in every case, but writing the height down means the choice is made on purpose rather than by whatever the tripod happened to do.
- Write the focal length next to each camera mark
- Draw the frame edges as two thin lines
- Note the camera height beside the position
Reading natural light with a sun path note
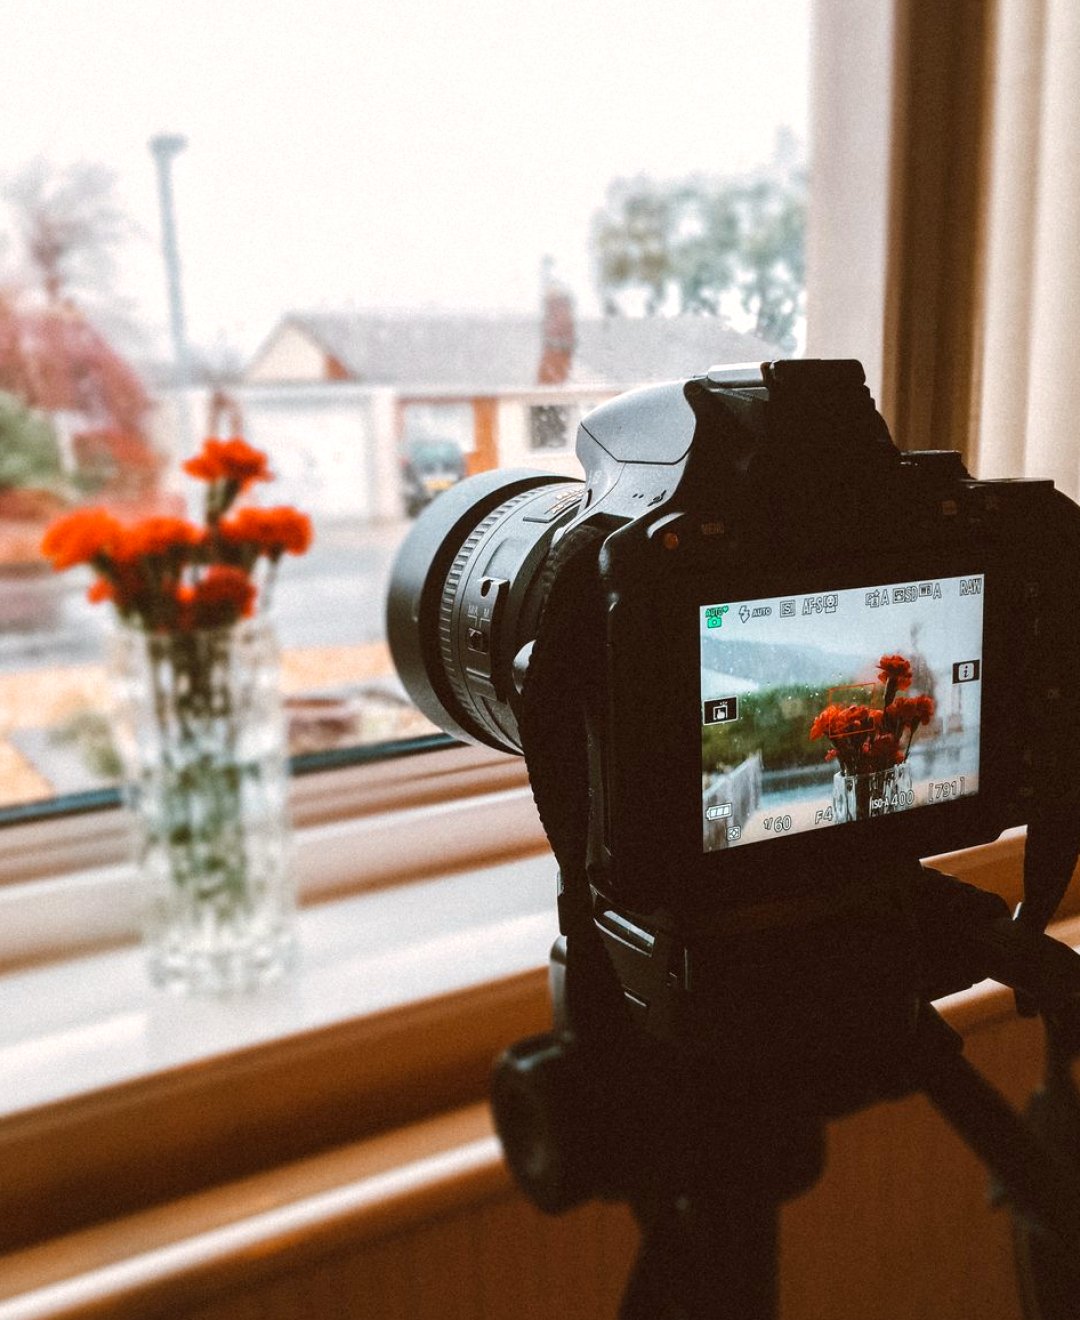
Daylight is the cheapest light there is and the least reliable, so we plan around it rather than hope for it. Before a location visit, students note which way the main window faces and at what time of day they will be filming. A window facing east gives a different room at nine in the morning than at three in the afternoon, and in early autumn the sun sits lower, so the angle changes faster than people expect.
Our method is a short written note attached to the floor plan. It says where the sun comes from, when direct light is likely to reach the subject, and what the room looks like when cloud rolls in. If a bright patch of sunlight crosses the background halfway through an interview, the exposure will shift, and you will see it in the edit.
For this time of year I tell students to allow for shorter days. Light fades earlier, and an afternoon slot that worked in summer may leave you finishing under a dim, orange room. Plan the most important setups for the brightest part of the day.
- Note which way each window faces
- Record when direct sun reaches the subject
- Allow extra margin as the days shorten
Studio light on a simple diagram
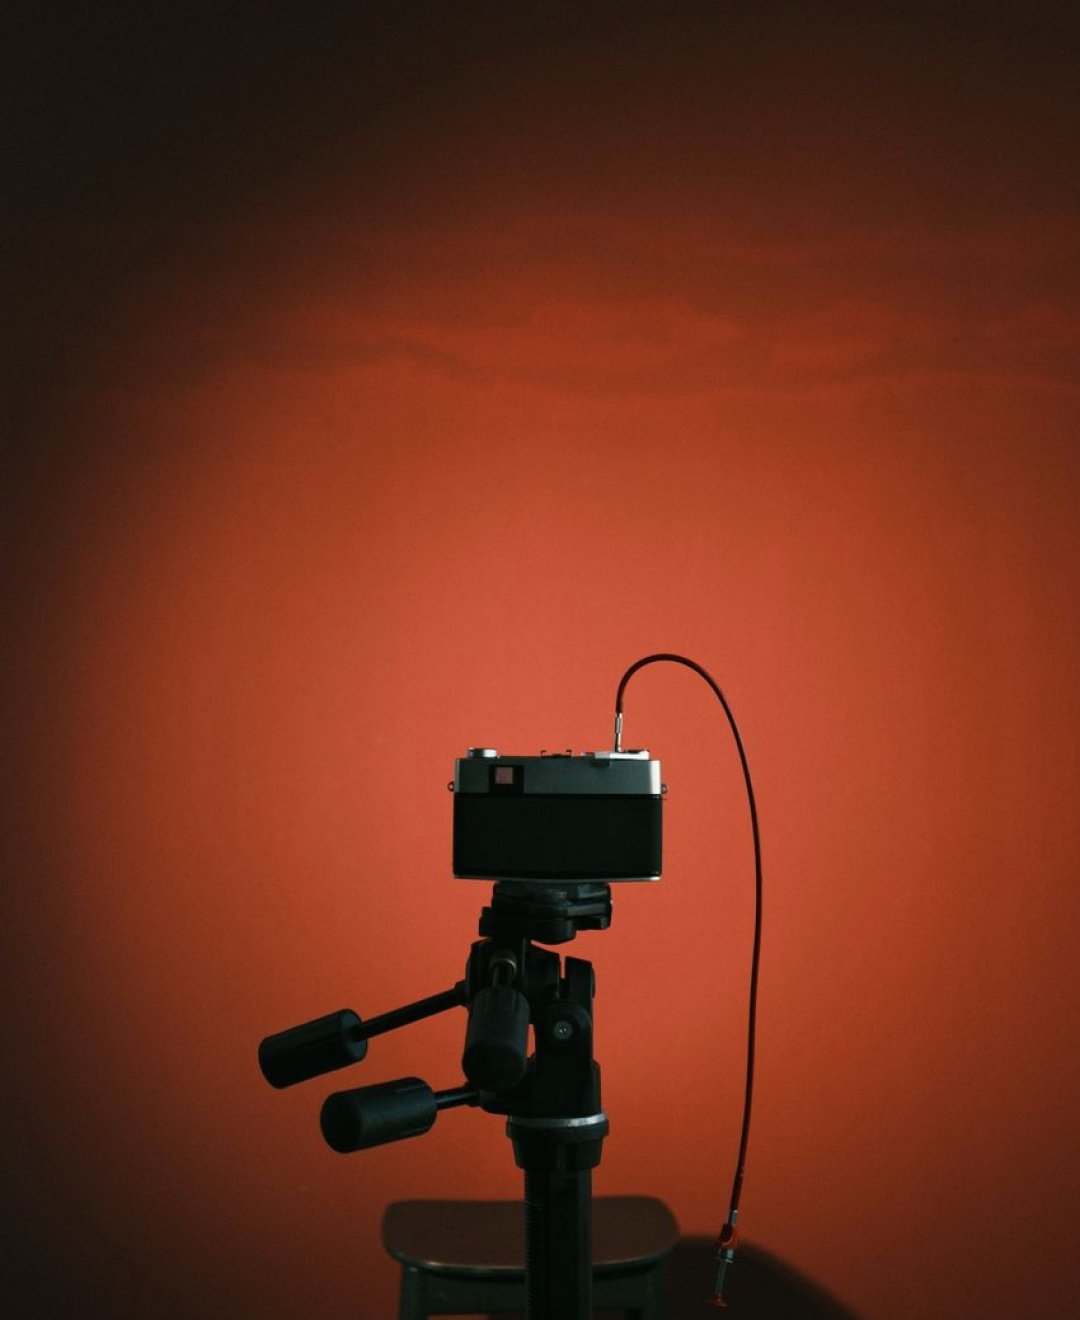
Where daylight cannot be trusted, we add lamps, and the same plan carries them. A lamp is drawn as a small square with an arrow showing the direction of the beam, and a short label says whether it is the main light, a softer fill or a light behind the speaker. For a standard interview we begin with just two: one to the side of the camera, slightly above eye level, and one gentler light on the opposite side.
Students sometimes want to use every lamp they own. I encourage the opposite. Each additional light needs a stand, a cable, a socket and someone to adjust it, and every one adds time to the setup. A clear two-light plan that is ready in fifteen minutes usually beats an elaborate one that eats the morning.
We also mark where cables will run, because a lead across a doorway is a trip hazard and a reason for delay. The diagram does not need to be beautiful. It needs to let a colleague arrive, read it and set up the room the way you intended.
- Label each lamp as main, fill or back light
- Start with two lamps and add only when needed
- Mark cable routes away from doorways
A small kit for checking a room on site
The tools we rely on are modest. A tape measure, a pencil and squared paper, a compass for finding window direction, and a small torch to look into dark corners and behind furniture. Add a phone for snapshots from the planned camera position, held at the planned height, and you can test a framing in minutes without unpacking a single case.
Those phone snapshots matter more than students expect. Standing where the camera will stand and photographing the subject position shows you the background as the lens will see it, including the things your eyes have learnt to ignore: a flickering strip light, a bin, a glossy surface reflecting a window.
We ask students to stick the photographs beside the floor plan, with the time of day written on each. When the real shoot arrives, the crew has the plan, the sun note and a picture of the intended frame in one place, which makes the first ten minutes calm rather than chaotic.
- Tape, pencil, squared paper and a compass
- A torch for checking corners and reflections
- Phone photos taken from the planned camera spot
Keeping the plan useful on the day
A plan is only worth the paper if people use it, so we teach students to treat it as a working document. Print it, put it on a clipboard, and write changes straight onto it. If the window blind has to come down, if a socket turns out to be dead, if the speaker prefers the other chair, note it and carry on. The corrected sheet then becomes the starting point for the next visit to the same place.
I also encourage a quick walk-through before the camera is switched on. Stand where the subject will sit, look toward the lens position, then check the light on the face from there. It takes two minutes and often reveals a shadow under the chin or a lamp too close.
Over the term, students build a small collection of these sheets. Looking back across them, patterns appear: which rooms worked, which kinds of window caused trouble, how long each setup really took. That record is the most useful tool we give them.
None of this needs expensive equipment. A measured floor plan, a note about the sun, two sensibly placed lamps and a handful of test photographs will prepare you for most interview rooms you are likely to meet. Plan the light as carefully as you plan the shots, write it down so the whole crew can read it, and keep each sheet after the shoot. Next time you walk into a similar room, you will already know what to expect.