Drawing for the wrong reader
The most common slip I see in student work is a storyboard made to impress rather than to inform. Panels are shaded, faces are detailed, and the page looks lovely pinned to a wall. On the day of the shoot, though, the person holding it is a camera operator or a sound recordist who needs to know three things: where the camera sits, how wide the shot is, and what moves.
Before you draw a single panel, picture the least experienced person on your crew picking the sheet up cold. If they could not tell the shot size within a few seconds, the drawing is doing the wrong job. Stick figures are fine. A clear rectangle with a horizon line and a marked subject position will serve a crew better than a polished portrait.
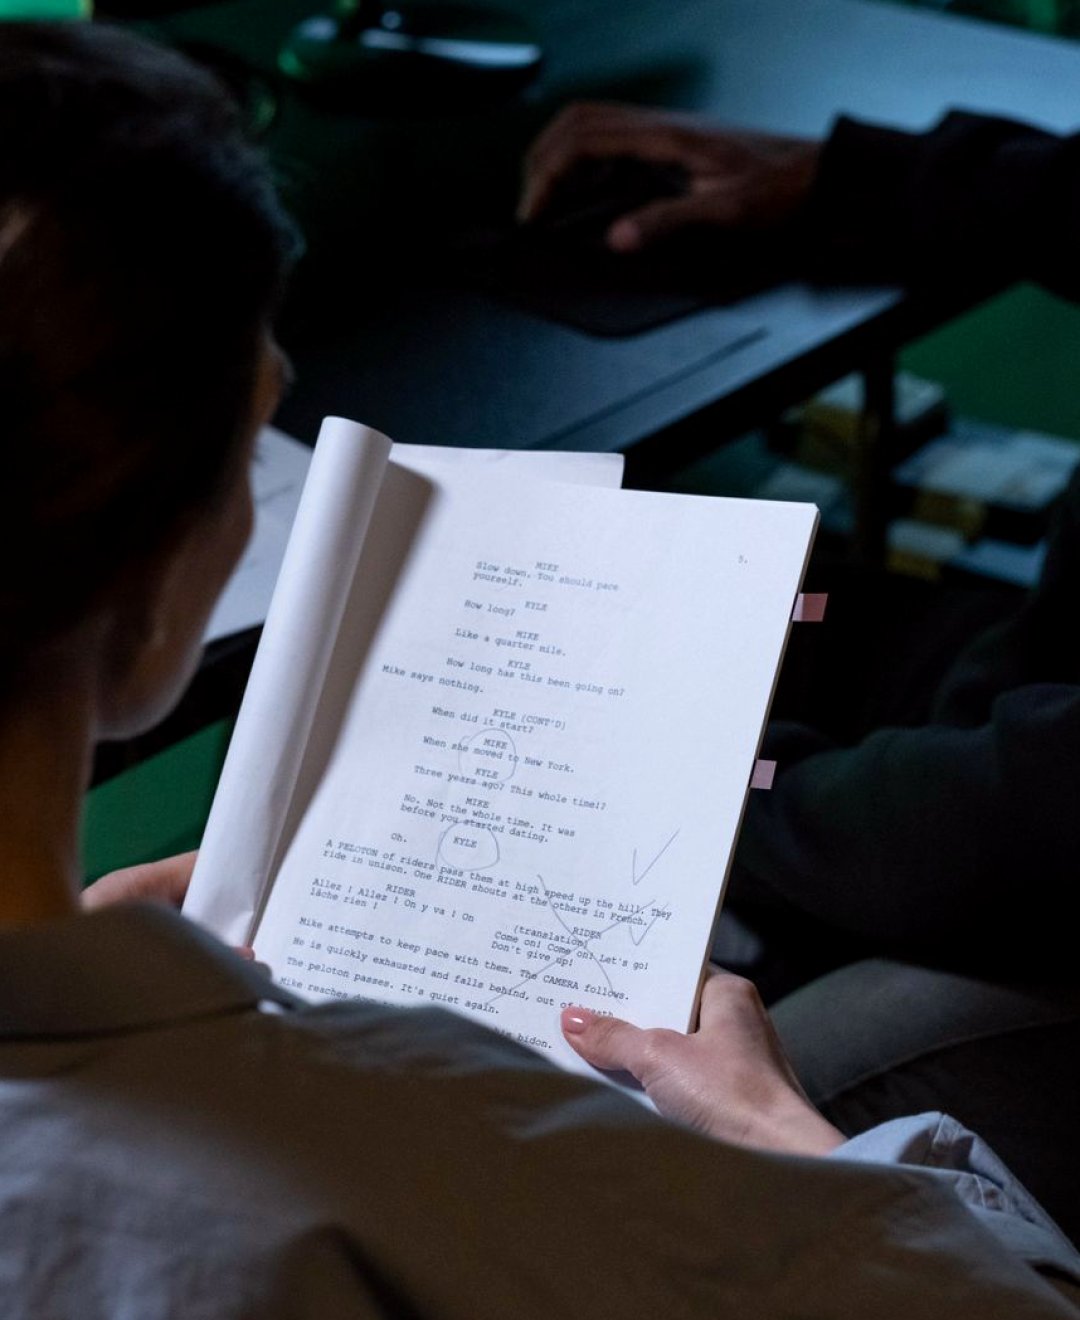
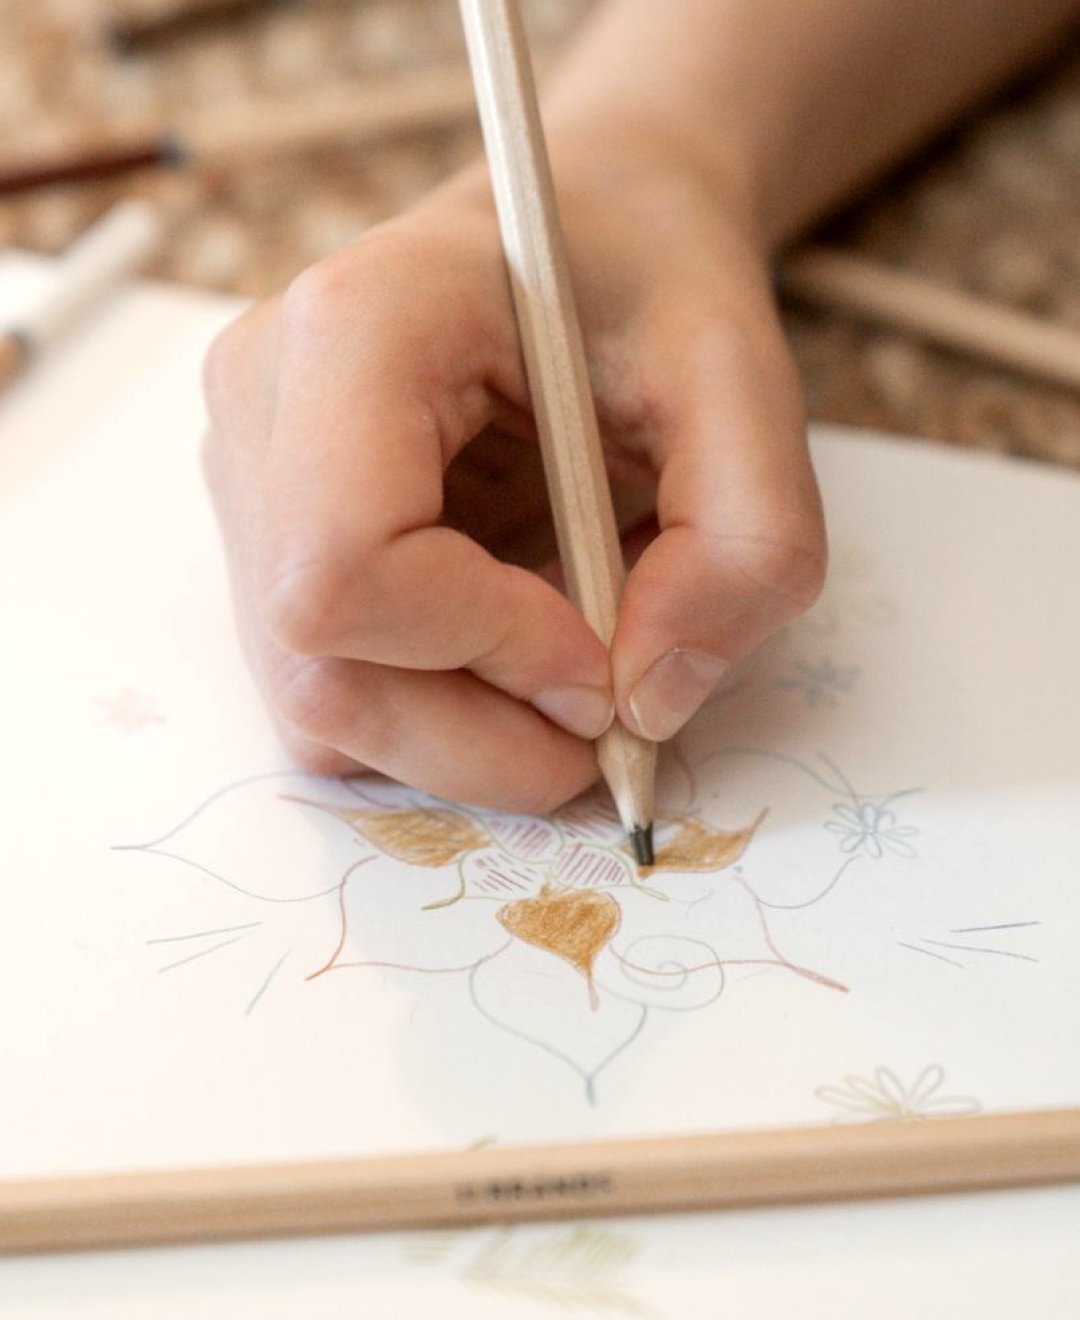
In the Storyboard Drawing Basics module we begin with thumbnails for exactly this reason. They are small enough that you cannot fuss over detail, which forces you to decide what the shot is actually for.
- Draw for the crew member who has never seen your script
- Keep figures simple and the frame edges clear
- Decide the purpose of each shot before you sketch it
Skipping the frame border
A surprising number of beginners sketch a subject on a blank page and call it a panel. Without a drawn border there is no frame, and without a frame nobody can judge how much of the scene the lens will include. A figure that looks like a close-up on an open page may turn out to be a wide shot once someone draws the edges around it.
Make it a habit to rule your rectangles first, in the same proportion as your final video. Sixteen by nine is the usual choice for factual reports, so keep every panel to that shape and the sequence will read consistently from one to the next.
Once the border exists, you can place the subject honestly. Notice how much headroom you have left, whether the eyeline has space in front of it, and whether a doorway or window cuts the edge awkwardly. These small decisions are cheap to fix on paper and expensive to fix on location.
- Rule every frame before drawing inside it
- Use one aspect ratio across the whole board
- Check headroom and eyeline space in each panel
Leaving out annotation
A drawing with no words beside it asks the reader to guess. Is the camera moving or still? Is that a lamp or a window? Does the interviewee look off camera or straight down the lens? Guessing costs time on set, and time is the thing a small shoot never has enough of.
Add a short line under each panel: shot size, camera movement, and anything the picture cannot show, such as a sound cue or a note about natural light. Keep the language plain and consistent. If you write mid shot in one panel, do not write medium framing in the next.
Arrows deserve a mention too. One arrow for subject movement and a different style for camera movement avoids a tangle of lines that nobody can untangle. Whatever convention you choose, put a tiny key in the corner of the sheet so a stranger can follow it without asking you.
- Label shot size and movement under every panel
- Use one arrow style for subjects and another for the camera
- Add a small key so others can decode your marks
Boards that ignore the place you will film
Since my own work is mostly about sites and permissions, this is the mistake I notice first. A storyboard is drawn from imagination, then taken to a real room where the ceiling is lower, the window is on the wrong side and the only power socket is across the corridor. The board becomes a wish list rather than a plan.
Where you can, visit the space before finalising the drawings, or at least study photographs and a rough floor plan. Sketch the board around what the location really offers. If the only wall with good light is behind your subject, a reverse angle may simply not be possible, and it is better to learn that before the day.
Mark fixed features on your panels: pillars, doors, signage you cannot remove. A board that acknowledges them will survive contact with the site far better than one that pretends the room is a blank studio.
- Study the site or its photographs before finalising panels
- Note fixed features such as pillars, doors and signs
- Redraw shots that the space cannot support
Too many panels, or too few
Some students try to board every second of a ten minute report and burn out by page four. Others draw five panels for an entire interview day and wonder why the crew still seems lost. Neither extreme helps. The aim is coverage of the moments where a decision is needed.
For an interview, board the establishing view, the main setup, the reverse or cutaway options, and any moving shot you have promised yourself. Routine repeats of the same setup need one panel and a note, not ten copies. For action or demonstration sequences, break the movement into the few frames where the picture changes meaningfully.
A useful test is to ask whether a missing panel would leave someone unsure what to do. If it would, draw it. If a panel only repeats the one before, fold it into a note and save your energy for the shots that carry the story.
- Board the moments that need a decision
- Use a note instead of repeating identical panels
- Break action into frames where the picture truly changes
Never testing the board with another person
The last mistake is quiet and easy to avoid. You finish the sheets, you understand them perfectly, and you never hand them to anyone. Of course you understand them; you drew them. The real question is whether someone else can.
Give the storyboard to a colleague, a friend, or a fellow student, and ask them to describe the first three shots back to you without any help. Where they hesitate, your drawing or annotation is unclear. Resist the urge to explain. Just note the confusion and fix the panel.
This five minute check catches more problems than any amount of rereading by the author. In our exercises we pair students for exactly this purpose, and the feedback is usually practical: a missing arrow, an unclear lens note, a panel that looks like a close-up but is meant to be wide.
- Ask someone to read the first three shots aloud
- Do not explain while they read; just note where they stall
- Fix the unclear panel, then test again
A useful storyboard is a working document, not a piece of art. Rule your frames, label what the picture cannot say, respect the real location, and keep the number of panels to what the crew needs. Then hand it to someone else and listen to where they hesitate. If you can fix those few points, your boards will carry across to the shoot much more reliably.