Why the floor plan comes before the kit list
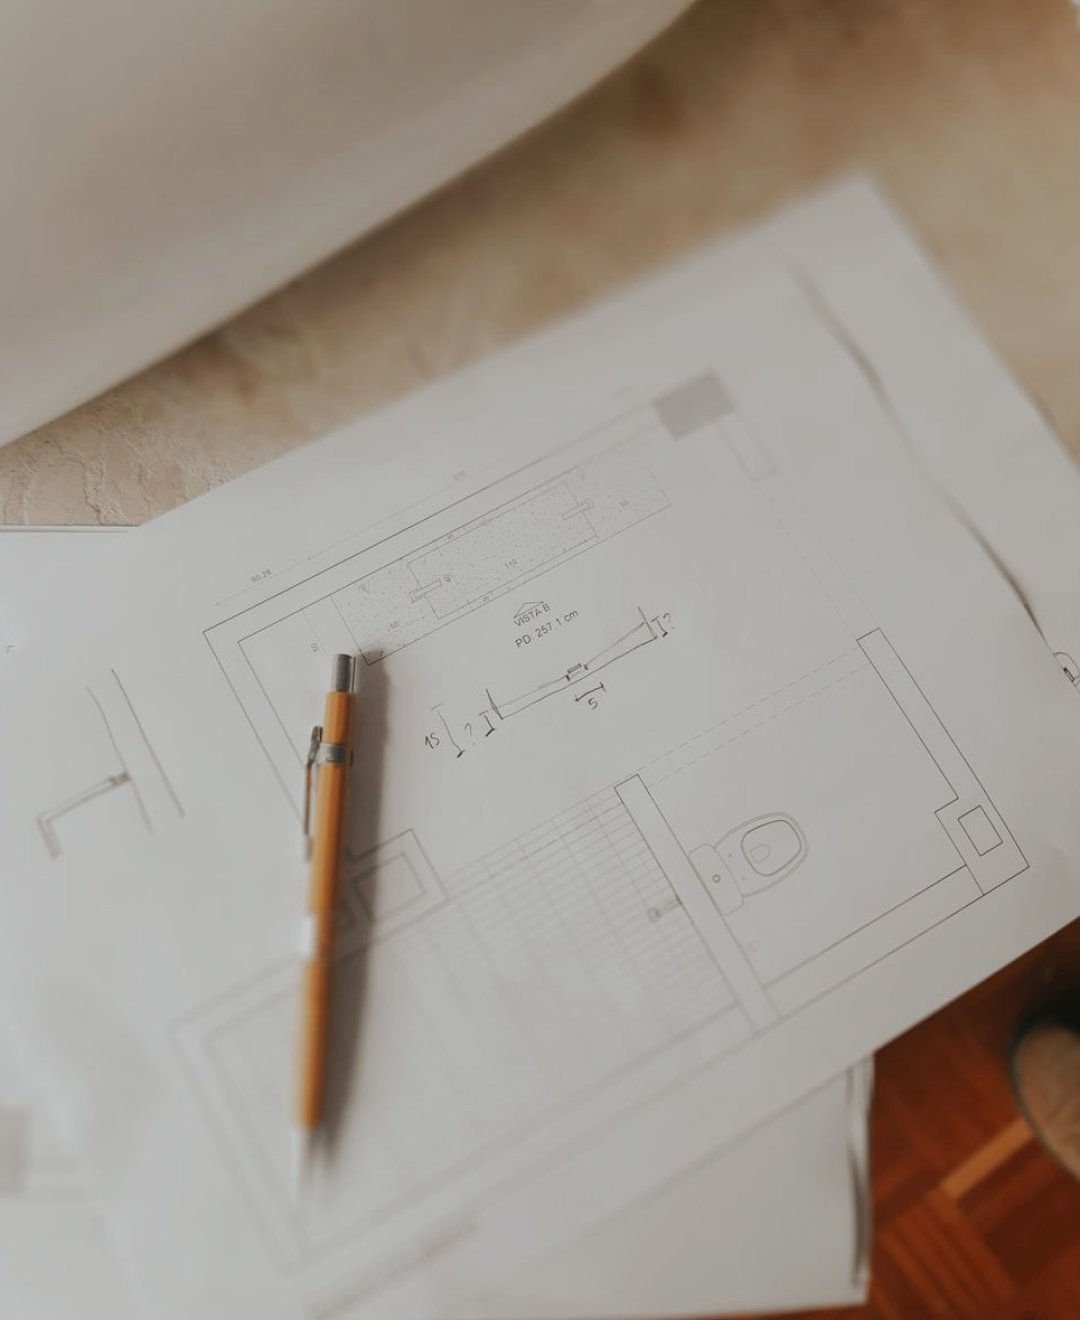
In the second half of the Camera Positions and Light module, students stop talking about cameras in general and start placing them on paper. The first exercise is always the same: a rectangle for the room, a few marks for doors and windows, and nothing else. No furniture is drawn unless it blocks a view or a path. The point is to see the space the way a lens will, from above, before you stand in it.
I teach this because most filming problems show up in the first ten minutes on location, when it is too late to rethink. A plan that shows where the interviewee sits, where the camera stands and where the light comes from lets you spot a clash early. Often it is something small, such as a window directly behind the speaker.
What we mark and how
Each student works with a short key. A triangle shows a camera with its facing direction, a numbered circle shows the subject, and a dashed line shows the rough angle of view. Lens choices are written beside each triangle in plain terms, such as wide, standard or short telephoto, with a note on why. We do not ask beginners to memorise focal lengths; we ask them to explain what they want the viewer to see.
Marks should be readable by someone who was not in the lesson. If a colleague picks up the plan cold and can tell where to put the tripod, the drawing has done its job. We check this in class by swapping plans and asking a neighbour to set out the shot with chairs and a roll of tape.
- Camera as a triangle pointing at the subject
- Subject as a numbered circle
- Lens noted in plain words beside each camera
- Light sources shown as arrows with a short label
Reading natural light across a day
Natural light is free but it moves. In these autumn weeks the sun sits low, which gives warm, directional light and a short window of usable hours. We ask students to note on the plan which wall the main window is on and which way it faces, then to write down the times they expect the light to be strongest and when it will fade.
This feeds straight into scheduling. If the best light on the east wall is mid morning, the interview that needs it goes first. Students learn to treat a window as a lamp that cannot be switched off, and to plan around cloud by choosing a second position that does not depend on the sun at all.
Studio light on a small footprint
Not every shoot happens by a window, so we also plan with a simple studio setup: one main light, one softer fill and a backlight if the room allows. On the floor plan each lamp is drawn with its distance from the subject and its height noted in a few words. Many of our students work in small offices, so we practise with tight spaces where a stand has to sit close to a wall.
A common finding is that the main light and the camera end up too near each other, which flattens the face. Moving the lamp a step to the side on paper costs nothing. Moving it on the day, with a crew waiting, costs time and patience.
A worked example from the classroom
One exercise uses a narrow meeting room with a window on the long wall. Students plan a two-camera interview: a main shot across the table and a closer second angle for emphasis. The challenge is that the window sits behind one of the two possible seats. Most groups first place the speaker against the glass, then redraw after seeing the silhouette problem in their own notes.
The better answers turn the speaker ninety degrees so the window becomes a soft side light, then place the second camera where it will not cross the first camera's line of sight. Seeing several versions on the wall side by side makes the reasoning clear to everyone without lengthy explanation.
What to bring to the next session
If you are joining the module, bring a plan of a real room you might film in, even a rough sketch with measured paces rather than exact dimensions. Note the windows, the power sockets and any noisy equipment such as a fridge or air vent. These details turn a generic exercise into a plan you can actually use.
You do not need a camera of your own for this part. Pencil, paper and a willingness to redraw are enough. The feedback we give focuses on whether the plan is clear, whether the positions make sense for the story, and whether the light has been thought through for the hours you will really be there.
Marking camera positions and light on a floor plan is a small habit that saves a surprising amount of time on location. It makes you decide where you stand, what the lens should show and where the light comes from, all before anyone arrives. Students leave the module with a repeatable way of planning each room, and a plan that a colleague can follow without a long briefing.